Integrate your namecheap custom domain with hashnode
8 Step guide to use you namecheap custom domain or subdomain with hashnode


This is the perfect guide if you want to map your namecheap domain with hashnode. I preasume that you have registered yourself on namecheap.com as well as hashnode.com and purchased a domain.
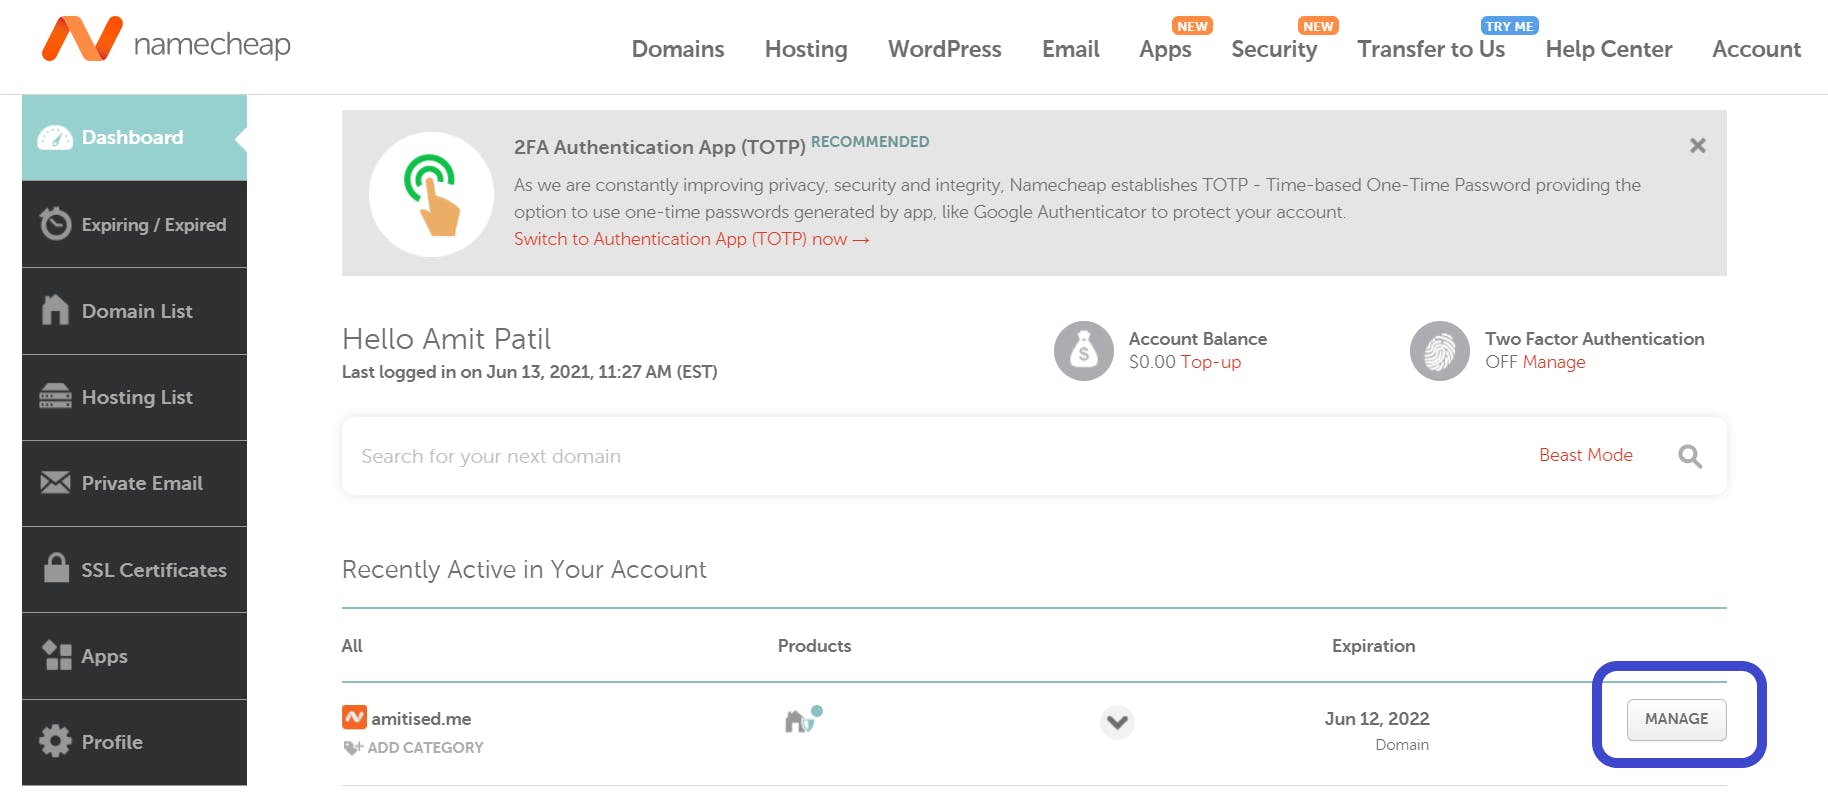
#1 Inside your namecheap dashboard select manage of the domain which you want to map.
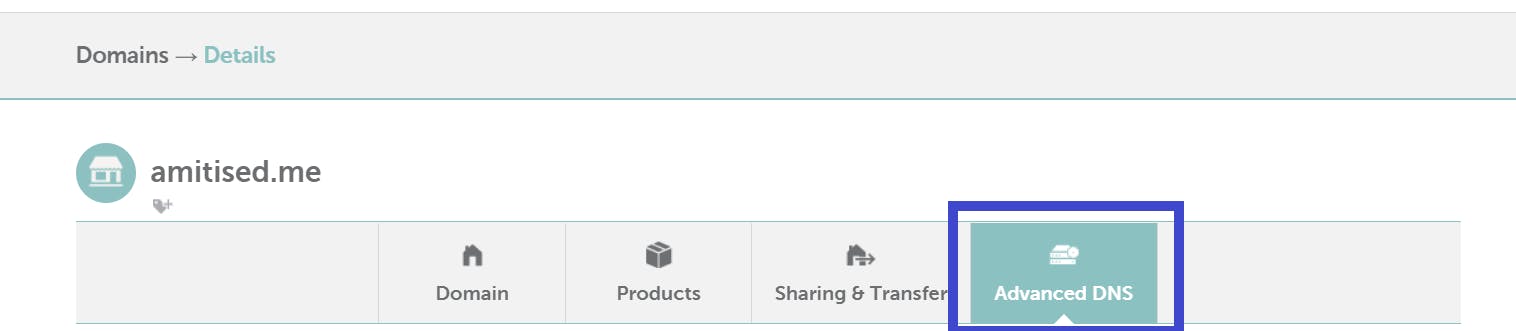
#2 Select Advanced DNS
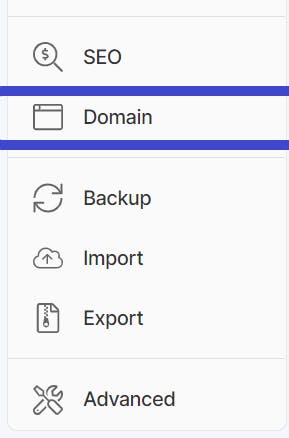
#3 Go to your Hashnode dashboard > Select Domain
#4 Update your domain or subdomain name
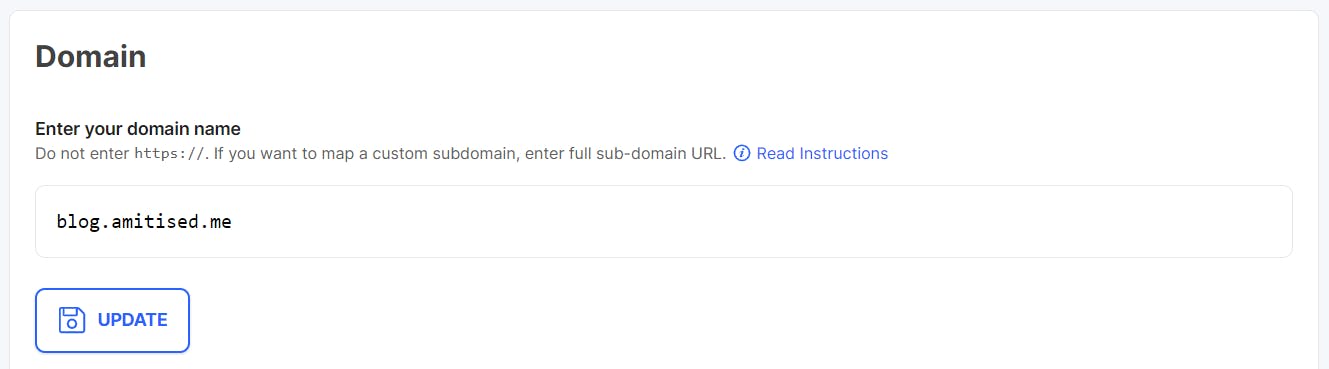
Here, in this domain blog.amitised.me
blog.work as a subdomain, but if you want to use whole domain dedicatedly, write it without prefix.
#5 Grab your HostName and Value

If you are not using subdomain default Host Name is
@
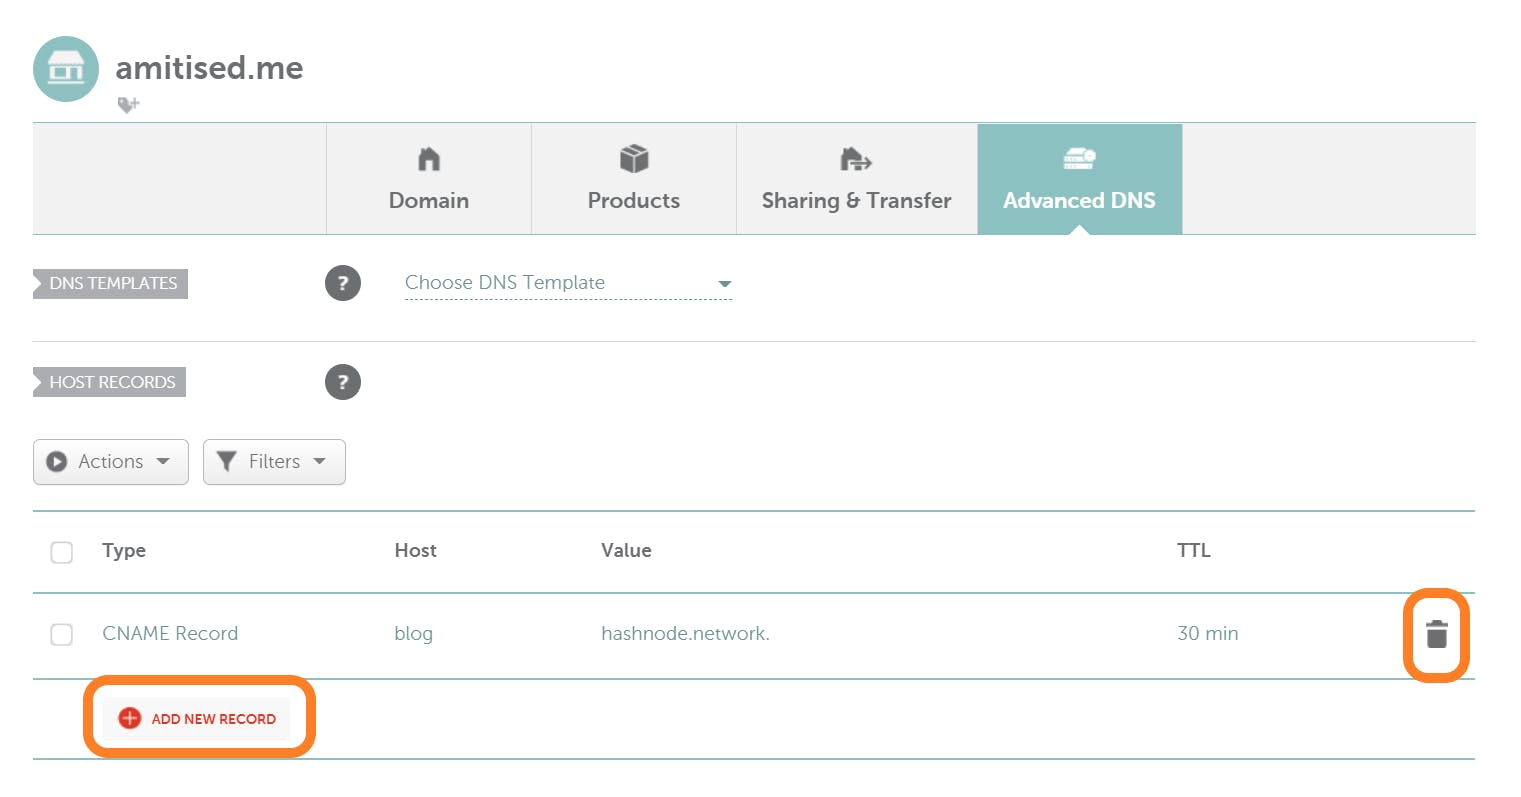
#6 Delete all the pre-existing default Records using delete icon in front of the each row.
Now, click on the Add New Record
#7 Select CNAME Record
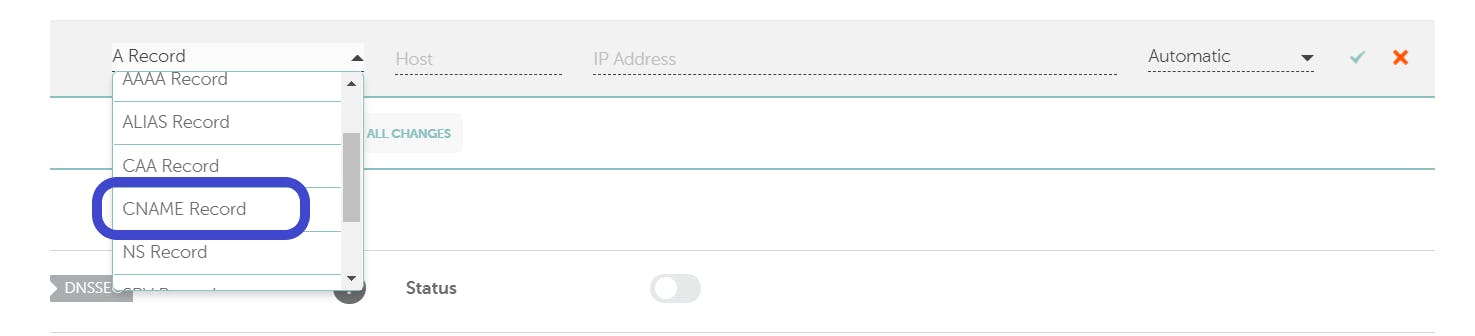
#8 Fill HostName in host and Value. Add Set TTL to 30 min

#9 Ahhh, no more steps!! We are done. After some time your blog should be able to say hello! from custom domain.